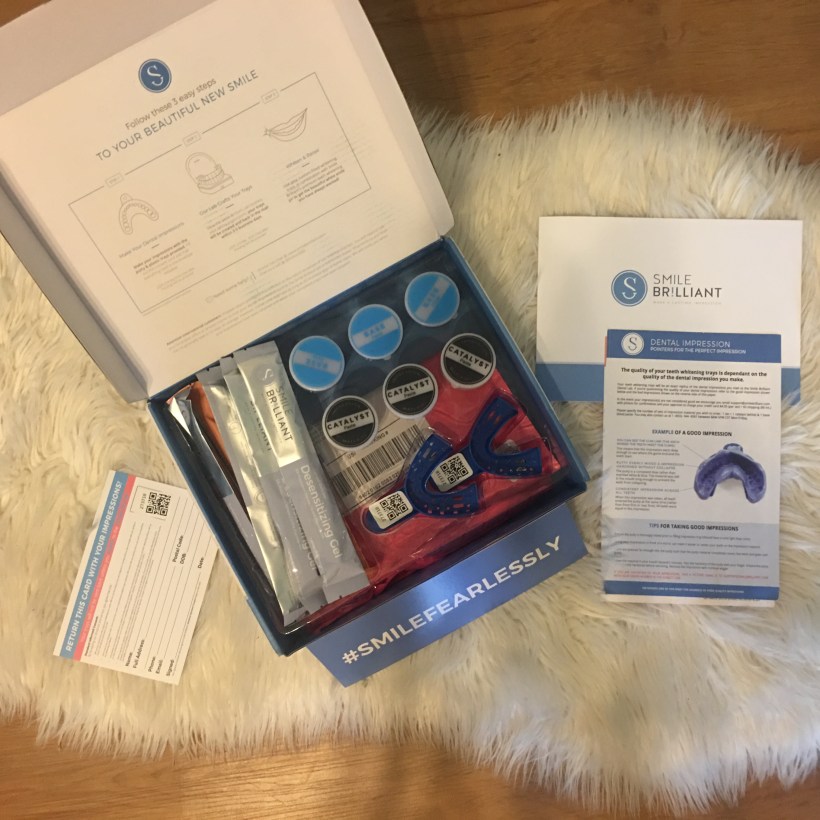
 My kit arrived and the first thing I had to do was make the molds to send in so they could make my personalized whitening trays. It was so easy to do. It took just a few minutes. You basically mix a clay type product with a catalyst and bite your teeth into the product and wait a few minutes. It begins to solidify and harden and then you remove from your teeth. I let it dry over night and then mailed them back into the company to make my trays.
 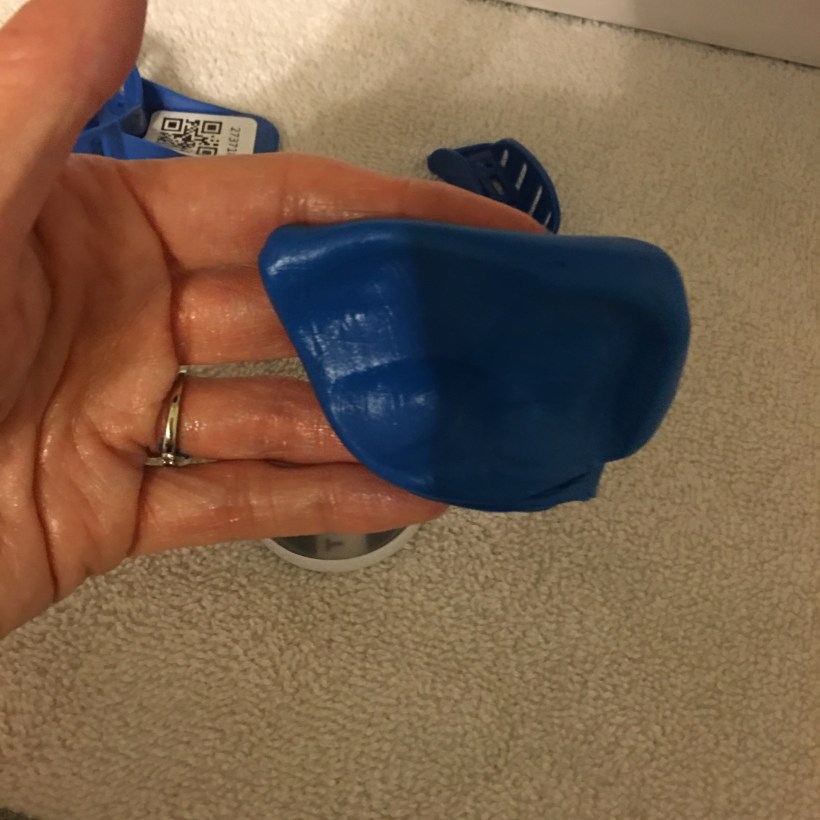 Above is a close up of the clay mixture.
 After mixing the molding material and catalyst you simply press them into the trays.
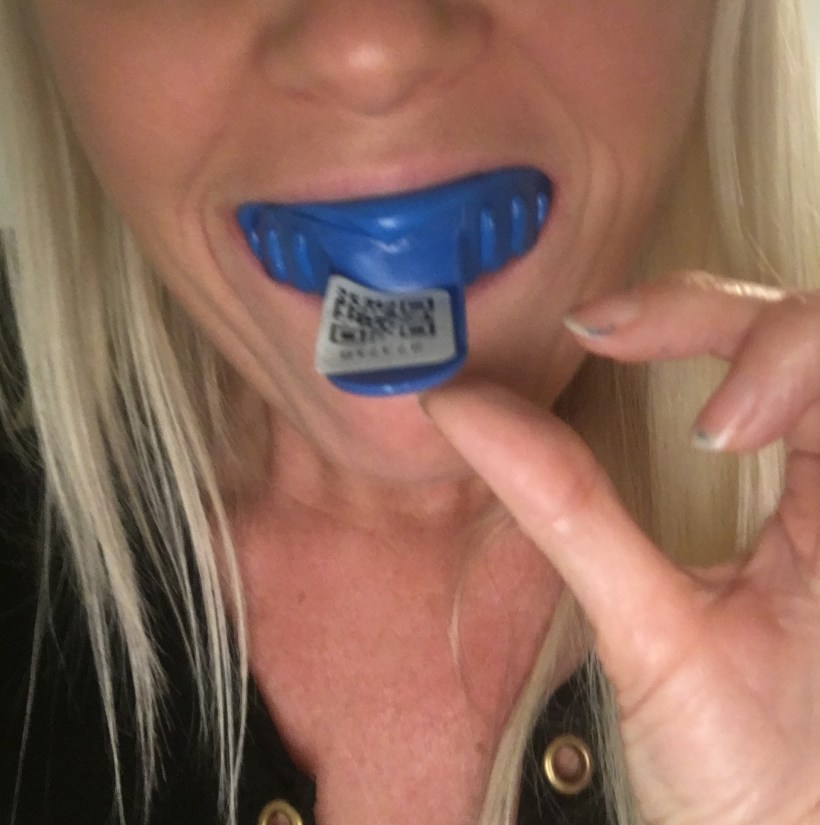 Next you bite down into the tray until you feel that all of your teeth and into the mold. Make sure you get all the way up to the gum line.
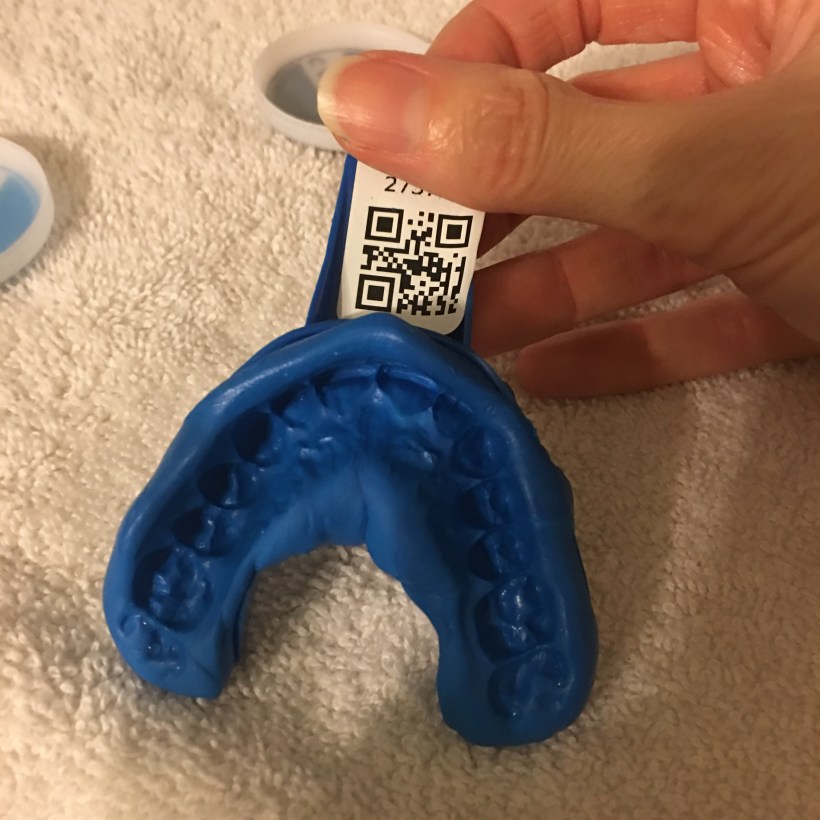 Here is my completed clay mold. Repeat and do both top and bottom.
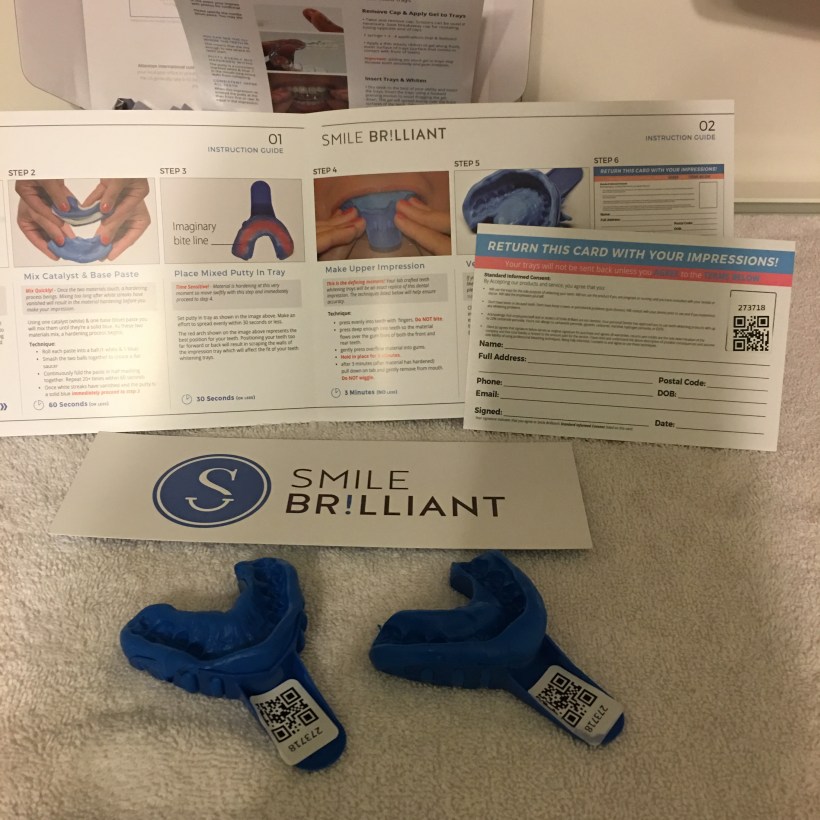 Mail both molds back in with the card provided. I had my trays back in less than 2 weeks.
 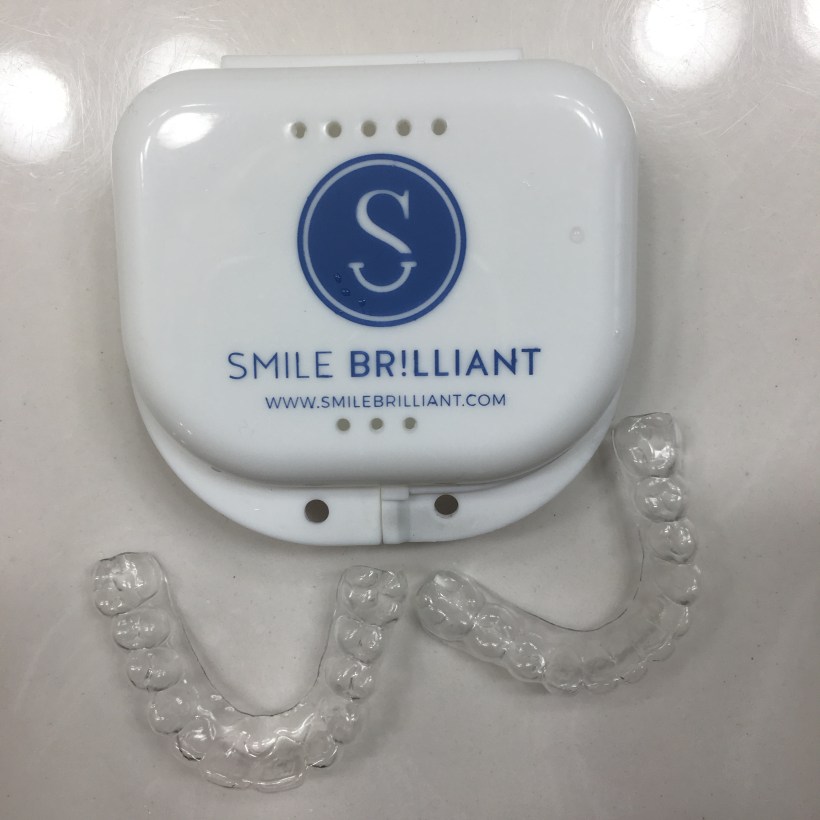 Look at these trays perfectly fitted to my teeth.
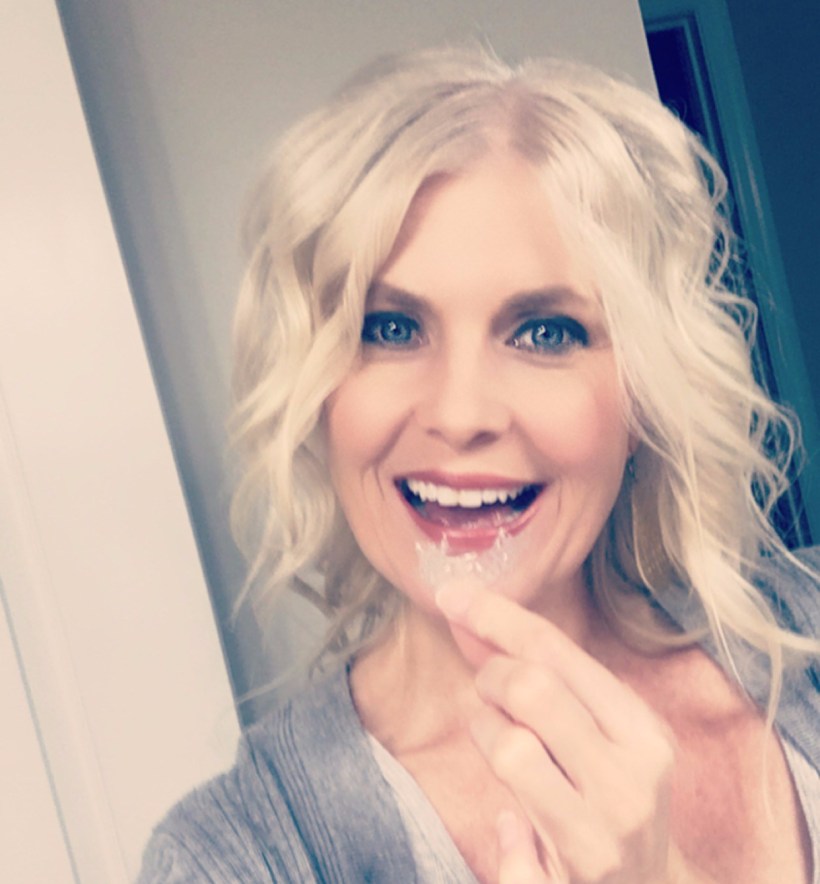
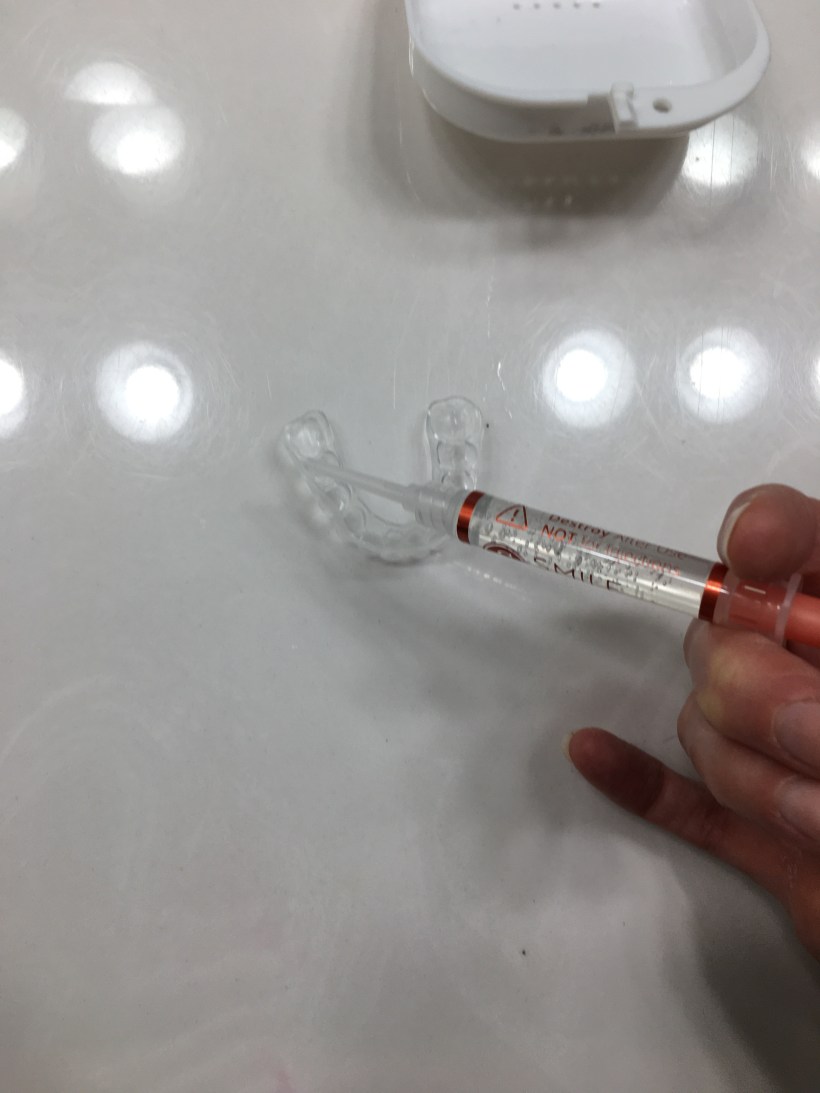 Now just apply a thin line of whitener and wear it on dry teeth for 45 minutes to 3 hours depending on sensitivity. Each syringe will have enough for 3-4 applications. I started off with 30 minutes and gradually built up my time. There is a gel you can apply if needed for sensitivity, but I did not need to use it.


Here is my BEFORE and AFTER. Im loving my results and I still have more treatments left. Im loving my new smile. This is the whitest my teeth have been in years. Let me know if you have any questions. I’m here to help answer all your questions. A white smile is a confident smile. Use “Styleaccused15” to save %15 on Smile Brilliant whitening kits. Enter a GIVEAWAY to be gifted your very own kit.
http://www.smilebrilliant.com/g/styleaccused
Open to USA, Canada, UK, and Australian residents Smile Brilliant
<!– SMILE BRILLIANT ARTICLE WIDGET START –> <a id=”smilebrilliant_widget_article” ishidden=”1″ title=”Professional Teeth Whitening”>Professional Teeth Whitening</a> //a%20href= <!– SMILE BRILLIANT ARTICLE WIDGET END –>
